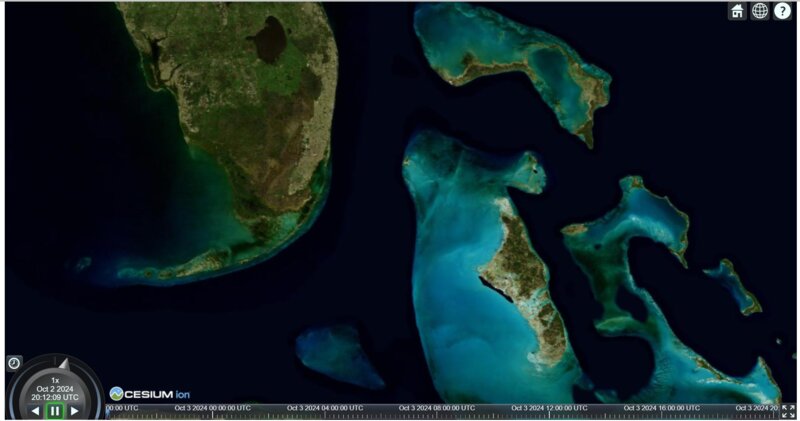
Creating a CesiumJS application using a self hosted basemap

Imagine you're tasked with developing a 3D Earth visualization for a remote research facility deep in the mountains, where internet connectivity is unreliable at best. Or perhaps you're working on a secure, on-premises application for a defense organization that requires all data to remain within closed networks. In these scenarios, relying on online map tiles isn't an option. You need a solution that brings the rich, interactive capabilities of CesiumJS to environments where offline and on-premises deployments are a necessity.
In this guide, we'll walk through the process of creating a CesiumJS application that uses offline tiles. Starting from scratch with a Vite vanilla TypeScript project, we'll set up everything you need to visualize the Earth without relying on external tile servers.
Setting the Stage: Why Go Offline?
Before diving in, let's consider the problems we're solving:
- Reliability: Offline tiles ensure your application works consistently, regardless of internet availability.
- Security: On-premises deployments keep sensitive data within your organization's network.
- Predictability: Self hosted tiles allow for predictable performance and no billing surprises.
- Performance: Local tiles can significantly reduce load times, enhancing user experience in bandwidth-constrained environments.
Step 1: Initialize Your Vite Project
Let's kick things off by setting up a new Vite project with TypeScript support. Open your terminal and run:
npm create vite@latest cesium-offline-tiles -- --template vanilla-ts
cd cesium-offline-tiles
npm install
This creates a new project named cesium-offline-tiles with a basic TypeScript setup.
Step 2: Install CesiumJS
Next, we'll add CesiumJS to our project:
npm install cesium
CesiumJS is a powerful open-source library for 3D mapping and visualization, perfect for our offline Earth visualization.
Step 3: Configure CesiumJS Assets
CesiumJS relies on a set of static assets, such as web workers and shaders, which need to be served correctly. We'll use the vite-plugin-static-copy plugin to handle this.
First, install the plugin:
npm install -D vite-plugin-static-copy
Then we will add the following to your vite.config.ts file. You might need to create the file if it doesn't exist.
// vite.config.ts
import { defineConfig } from "vite";
import { viteStaticCopy } from "vite-plugin-static-copy";

const cesiumSource = "node_modules/cesium/Build/Cesium";
// This is the base url for static files that CesiumJS needs to load.
// Set to an empty string to place the files at the site's root path
const cesiumBaseUrl = "cesiumStatic";

// https://vitejs.dev/config/
export default defineConfig({
  define: {
    // Define relative base path in cesium for loading assets
    // https://vitejs.dev/config/shared-options.html#define
    CESIUM_BASE_URL: JSON.stringify(`/${cesiumBaseUrl}`),
  },
  plugins: [
    // Copy Cesium Assets, Widgets, and Workers to a static directory.
    // If you need to add your own static files to your project, use the `public` directory
    // and other options listed here: https://vitejs.dev/guide/assets.html#the-public-directory
    viteStaticCopy({
      targets: [
        { src: `${cesiumSource}/ThirdParty`, dest: cesiumBaseUrl },
        { src: `${cesiumSource}/Workers`, dest: cesiumBaseUrl },
        { src: `${cesiumSource}/Assets`, dest: cesiumBaseUrl },
        { src: `${cesiumSource}/Widgets`, dest: cesiumBaseUrl },
      ],
    }),
  ],
});
This setup ensures that all necessary CesiumJS assets are available when the application runs.
Step 4: Create the Tiles Server
To display imagery without an internet connection, we'll use the pmtiles format—a fast and efficient way to store tiled map data. It's an excellent alternative to traditional MBTiles files.
You can obtain sample PMTiles from Keimaps here. Download the tiles and set up a local tile server. For simplicity, you might use a basic HTTP server or a specialized tool like pmtiles-server to serve the tiles from your local machine.
For example to server the satellite.pmtiles file with docker run the following command:
docker run -d -p 8080:8080 --name pmtiles-server -v $(pwd)/satellite.pmtiles:/data/satellite.pmtiles protomaps/go-pmtiles serve --cors=\* /data/
Ensure your tile server serves tiles at a URL like http://localhost:8080/maps/{z}/{x}/{y}.jpg.
Step 5: Update Your Main Application File
Now, let's update our main.ts file to initialize CesiumJS with the self-hosted tiles.
import * as Cesium from 'cesium';
import 'cesium/Build/Cesium/Widgets/widgets.css';

// configure our tile server
const offlineImagery = new Cesium.UrlTemplateImageryProvider({
  url : 'http://localhost:8080/maps/{z}/{x}/{y}.jpg',
  maximumLevel : 8
});

// Initialize the CesiumJS viewer with offline tiles
new Cesium.Viewer('cesiumContainer', {
  baseLayer: new Cesium.ImageryLayer(offlineImagery),
  baseLayerPicker: false,
  geocoder: false,
});
Update the index.html file to include a container for the CesiumJS viewer.
<!DOCTYPE html>
<html lang="en">
  <head>
    <meta charset="UTF-8" />
    <meta name="viewport" content="width=device-width, initial-scale=1.0" />
    <title>CesiumJS Offline Tiles</title>
    <link rel="stylesheet" href="/style.css" />
  </head>
  <body>
    <div id="cesiumContainer" style="width: 100%; height: 100vh;"></div>
    <script type="module" src="/src/main.ts"></script>
  </body>
</html>
This sets up a full-screen container where CesiumJS will render the globe.
Step 6: Run Your Application
To see your CesiumJS application in action, run:
npm run dev
Open your browser and navigate to http://localhost:3000 (or the port specified in your terminal). You should see the CesiumJS globe rendered using your offline tiles.
Wrapping Up
Congratulations! You've successfully built a CesiumJS application that operates entirely offline. This setup is ideal for:
- Remote Deployments: Situations where internet access is limited or non-existent.
- Secure Environments: Applications that must remain within closed networks for security reasons.
- Performance-Critical Applications: Systems that require consistent performance without network latency.
