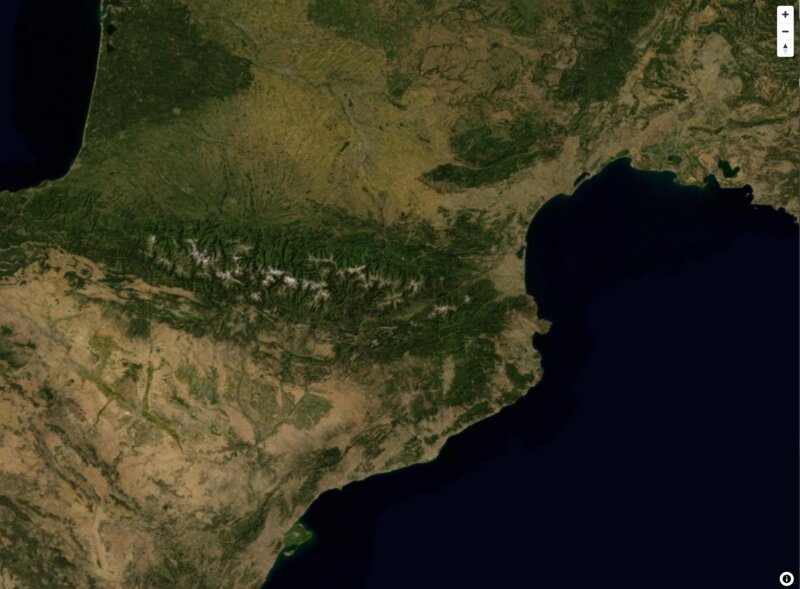
Creating a Maplibre application using a self hosted basemap

In this article, we will walk through the process of creating a MapLibre GL JS application using offline tiles. We will use a Vite vanilla TypeScript project as our baseline. We will start from the very beginning and get a working map visualization with offline tiles.
Setup
First, let's set up a new Vite project with TypeScript.
npm create vite@latest maplibre-offline-tiles -- --template vanilla-ts
cd maplibre-offline-tiles
npm install
Installing MapLibre GL JS
Next, we need to install MapLibre GL JS and its TypeScript types.
npm install maplibre-gl
Configuring MapLibre GL JS
Unlike CesiumJS, MapLibre GL JS doesn't require special configuration with Vite. We just need to import the CSS file in our main TypeScript file.
Create the tiles server
We will use the pmtiles format to serve the tiles. pmtiles is a simple, fast, and efficient format for storing tiled map data. In order to serve it we are going to acces directly the pmtiles file from the application, this approach can also be used by deploying the file to an S3 compatible file storage.
We are going to use the serve npm package:
npm install --global serve
Then we just run it where we have save our pmtiles file. We allow CORS to * by using the -C parameter.
serve -C
We can use the pmtiles provided by Keimaps as an starting point. They can be obtained here.
Consuming the pmtile file
To use pmtiles with MapLibre GL JS, we need to install the pmtiles library:
npm install pmtiles
Example Code
Now, let's update our main.ts file to initialize MapLibre GL JS with the offline tiles.
import maplibregl from 'maplibre-gl';
import 'maplibre-gl/dist/maplibre-gl.css';
import { Protocol } from 'pmtiles';

// Register the pmtiles protocol
const protocol = new Protocol();
maplibregl.addProtocol("pmtiles", protocol.tile);

// Initialize the MapLibre GL JS map
const map = new maplibregl.Map({
  container: 'map',
  style: {
    version: 8,
    sources: {
      'offline-tiles': {
        type: 'raster',
        url: 'pmtiles://http://localhost:3000/satellite.pmtiles',
        tileSize: 256,
      },
    },
    layers: [
      {
        id: 'offline-layer',
        type: 'raster',
        source: 'offline-tiles',
      },
    ],
  },
  center: [0, 0],
  zoom: 2,
});

// Add navigation controls
map.addControl(new maplibregl.NavigationControl());
Update the index.html file to include a container for the MapLibre GL JS map.
<!DOCTYPE html>
<html lang="en">
  <head>
    <meta charset="UTF-8" />
    <meta name="viewport" content="width=device-width, initial-scale=1.0" />
    <title>MapLibre GL JS Offline Tiles</title>
    <style>
      body { margin: 0; padding: 0; }
      #map { position: absolute; top: 0; bottom: 0; width: 100%; }
    </style>
  </head>
  <body>
    <div id="map"></div>
    <script type="module" src="/src/main.ts"></script>
  </body>
</html>
This setup will create a MapLibre GL JS map using offline tiles stored in a PMTiles file. Make sure to replace 'http://localhost:3000/satellites.pmtiles' with the actual path to your PMTiles file.
Remember to serve your PMTiles file from a local server or adjust the URL accordingly if you're hosting it elsewhere.
